Learn how to carve a turkey like a pro! It’s easy, I promise. I’ll walk you through it step-by-step and show you on video, so you can create a stunning, photo-worthy Thanksgiving platter.

Why You’ll Love Carving Turkey This Way
After you’ve roasted the most succulent, perfectly golden turkey recipe, the next step is to present it beautifully. My dad was masterful at carving turkey, and I was fortunate to learn from the best at a young age. But here’s why you should learn how to do it too:
- You’ll get some skin with every bite. We all know the skin is covetable at Thanksgiving! So carving your the turkey the right way not only looks like a masterpiece on the table, but it also ensures the proper meat-to-skin ratio in every bite – making everyone very happy!
- There’s very little waste. When you carve a turkey this way, there’s very little meat waste or oddball pieces. Plus, it’s more time-efficient as well.
- This method works for other poultry. Whether you’re slicing a full bird, a turkey breast, or a roast chicken, you can use the same carving approach. So this becomes a very useful skill in the kitchen.
Let The Turkey Rest
After you’ve pulled the turkey from the oven, don’t be overzealous and slice right into it. Let the turkey rest for a good 30 minutes. This allows the juices to redistribute within the meat, which means more juice in your turkey rather than on your cutting board.

Carving a Turkey: Step-By-Step
Slice off the legs and thighs. To do this, slice through the skin between the leg and the breast. Then pull back on the leg, laying it flat outward, and push up on the joint from underneath. You may hear a slight pop. At that point, use your knife to cut around the joint and remove the leg and thigh completely. Repeat this process on the other side and set these pieces aside.

Remove the breasts. Slice down on either side of the breast bone, using long strokes. As your knife hits the bottom, use your thumb to gently pull the breasts outward, continuing to slice down and out until the breast meat is removed. If needed, you can slice horizontally at the bottom of the breast from the outside to help remove it. Repeat this process on the other side and set the breasts aside.

Remove the wings. Gently pull the wings away from the body and slice through the joint to remove it. You can remove the wing tips (there’s really no meat here), and they’re great for stocks. Then set the wings aside.

Separate the drumstick from the thigh. Now that all the meat is removed from the turkey, flip this piece over so it’s skin side down and you can see the natural separation between the drumstick and the thigh. Slice through the meat and gently pull pack on the drumstick to expose the joint, then slice through it. You’ll have two pieces, the drumstick and the thigh.

Remove the bone from the thigh. Use your knife to slice around the thigh bone, preserving as much meat as possible.

Slice up the meat. There’s two things to remember here. First, slice against the grain for tender pieces of meat. And second, use a very sharp knife to keep the skin attached to each piece.

Plating a Carved Turkey
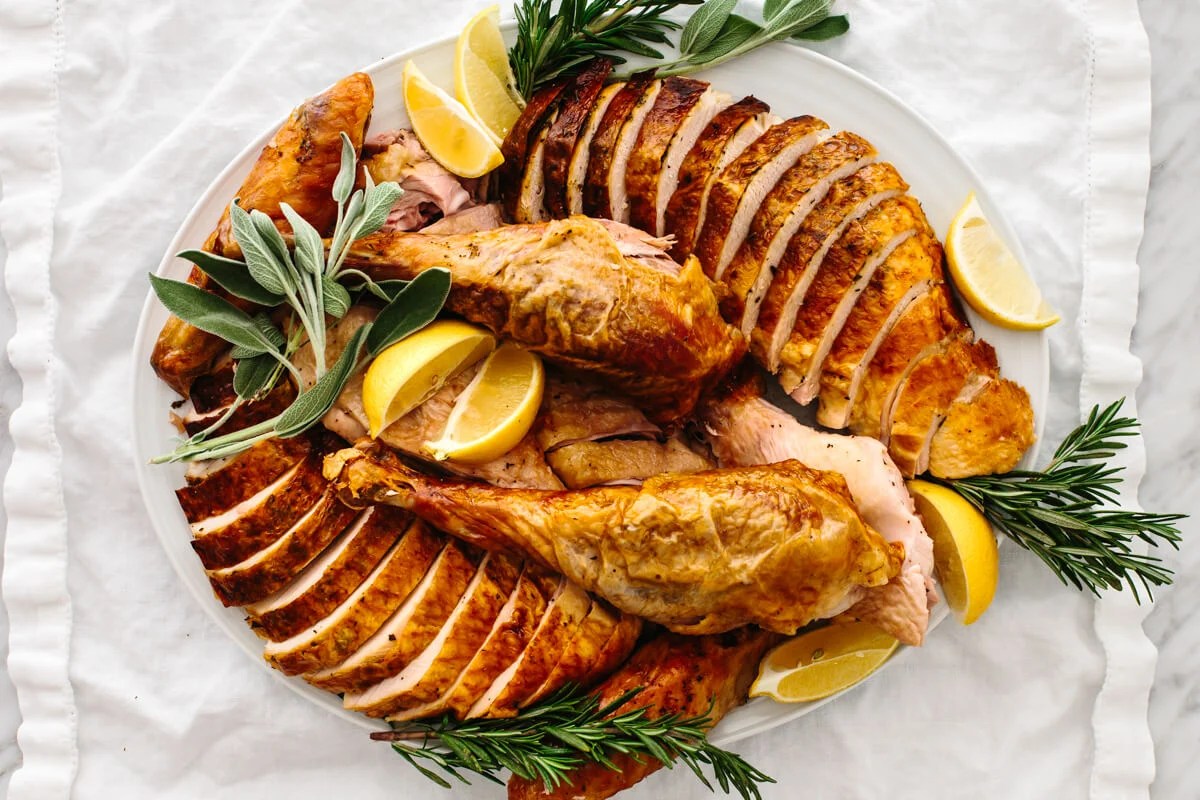
Once all your meat is sliced up, you can arrange it on a platter. There’s really no right way to do this. It depends on the size of your platter and any extra garnishes, like herbs, lemons, cranberries, apples, etc. you may have. So feel free to play around with the arrangement.
I just try to make sure the most golden pieces, like the breasts and drumsticks take center stage. Then, I’ll fill in any gaps with garnishes.
Serve it Right Away
As soon as the meat is removed from the turkey it will cool quickly. So make sure all your Thanksgiving side dishes, salads, sauces, and other goodies are cooked, on the table, and ready to be enjoyed. Then swoop in with your beautifully carved turkey and wow your guests with the centerpiece of the table.

More Thanksgiving Recipes to Enjoy
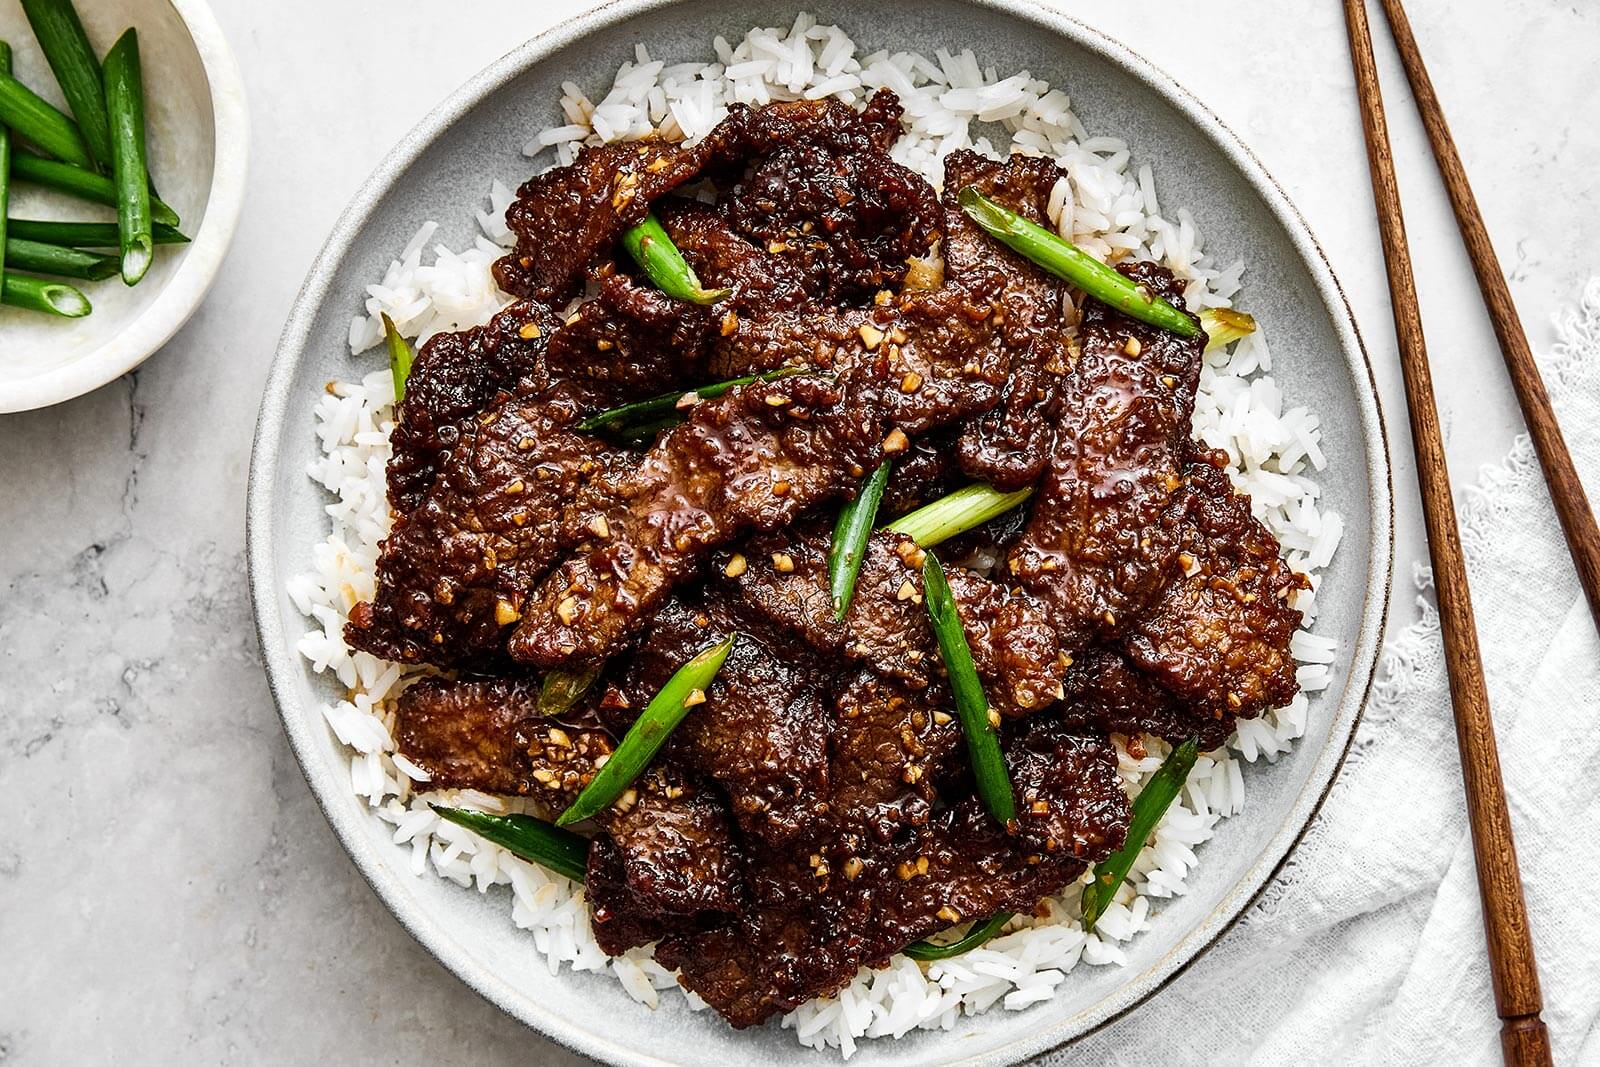
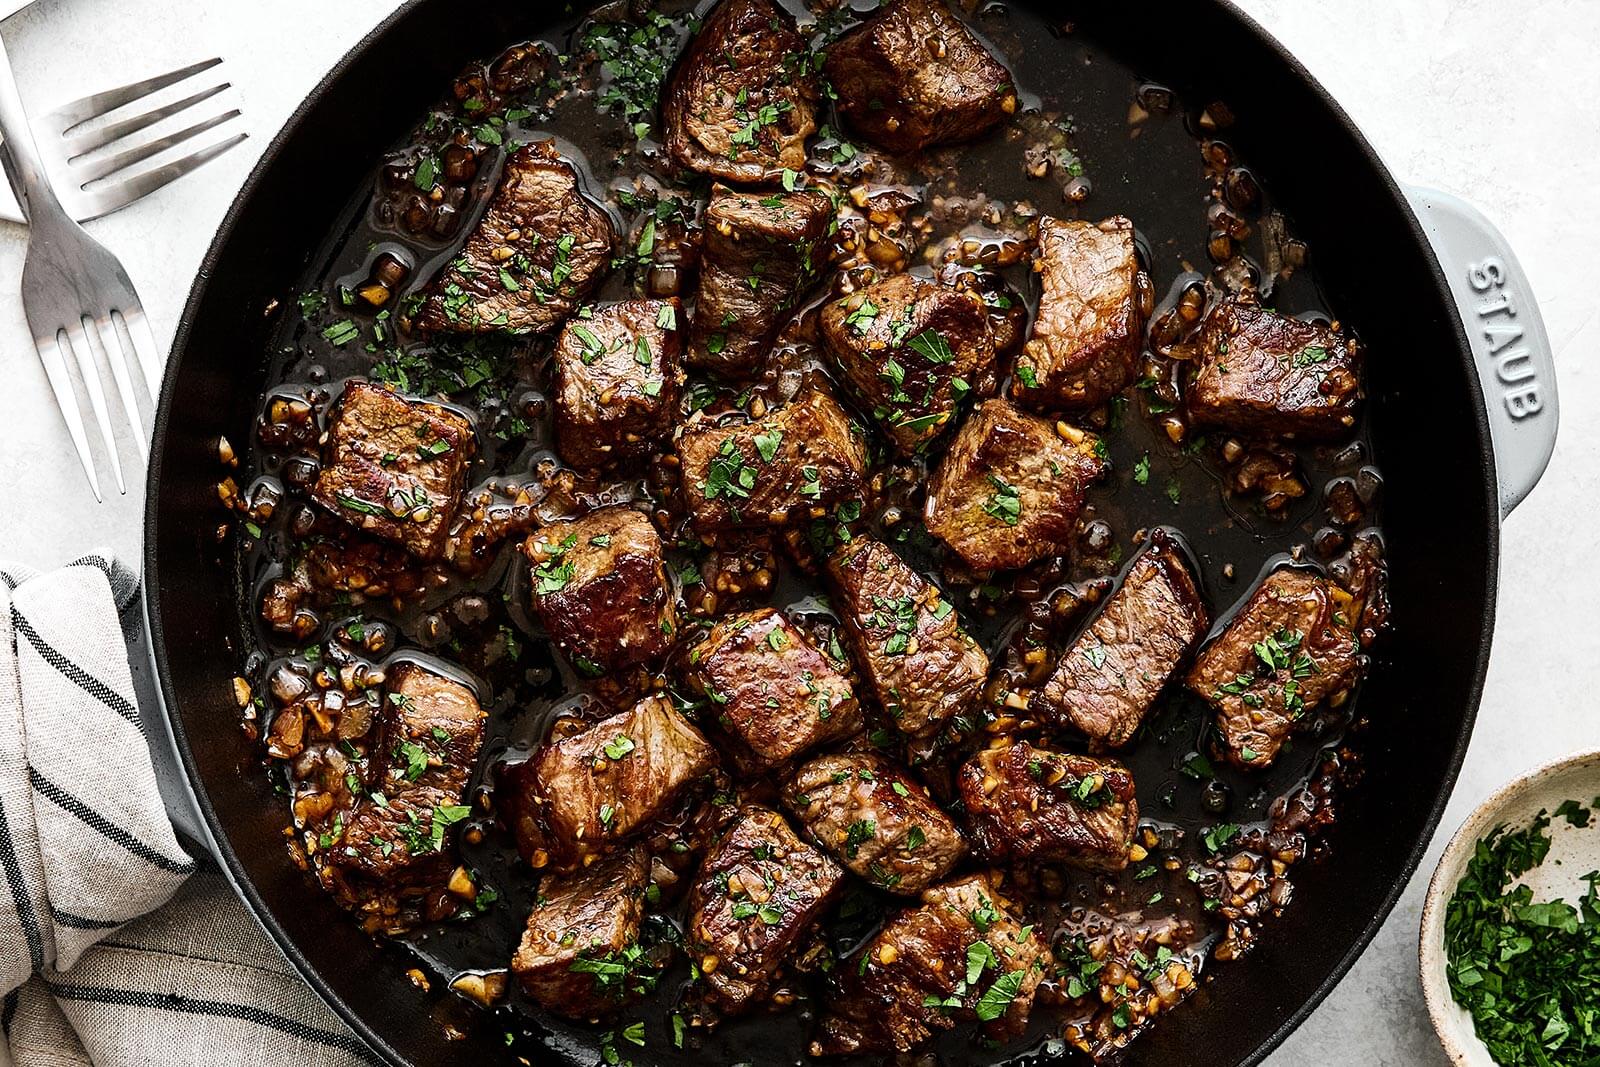
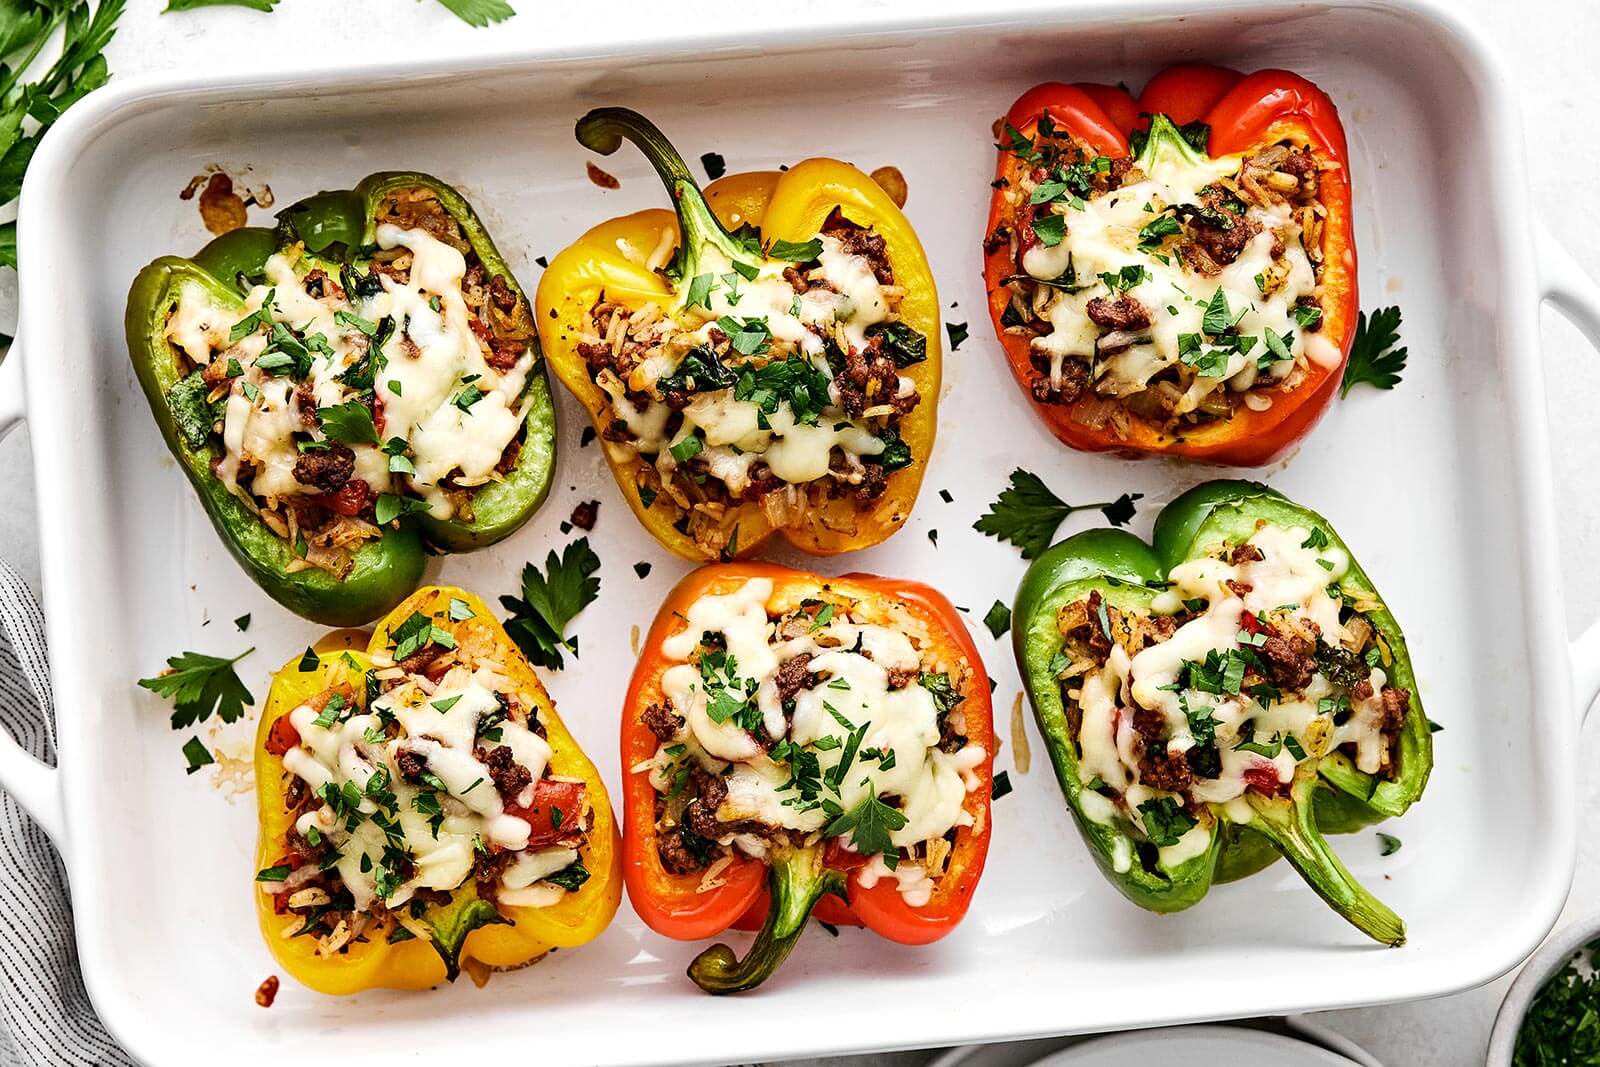
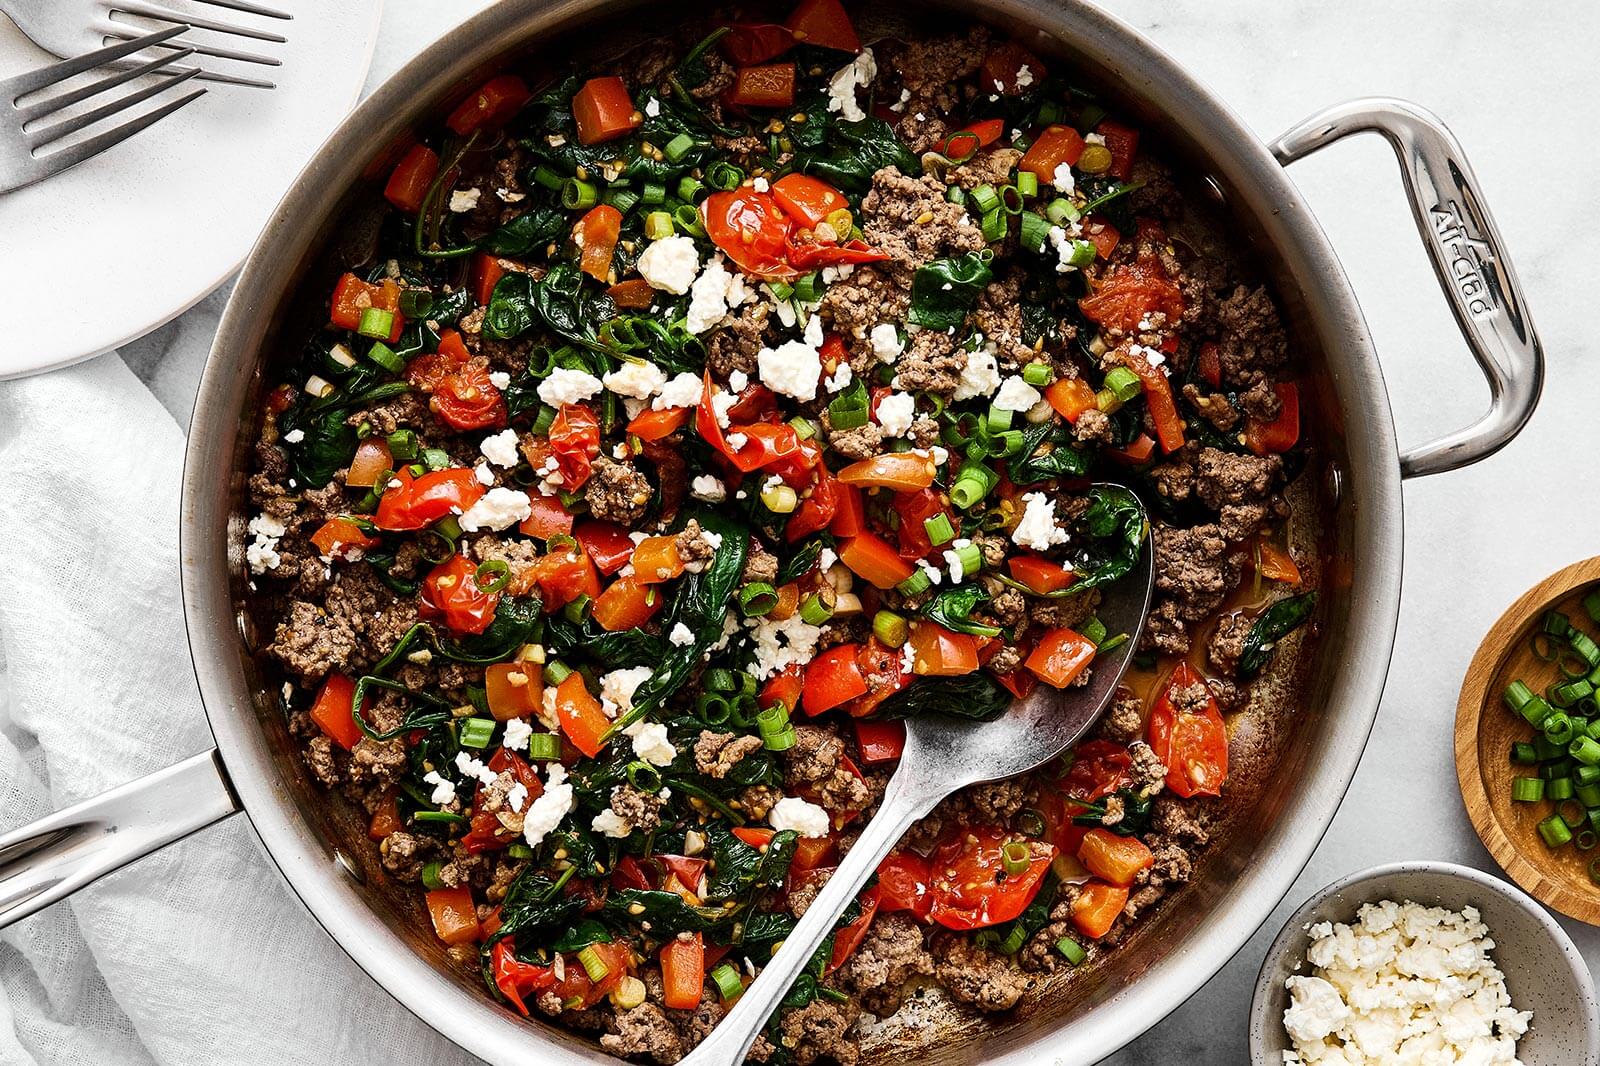
What goes great with turkey? Gravy and cranberry sauce of course! And these reader favorite recipes.
If you make carve your turkey using this method, I’d love to hear how it turned out in the comment box below! Your review will help other readers in the community. And if you’re hungry for more healthy food inspiration (and exclusive content), join my free newsletter.
Description
Learn how to carve a turkey like a pro! It’s easy, promise. Make sure to watch the video below! With just a few slices, you’ll have a stunning, photo-worthy Thanksgiving platter.
-
Remove the legs and thighs by slicing through the skin between the leg and the breast. Then pull back on the leg, laying it flat outward, and push up on the joint from underneath. You may hear a slight pop. At that point, use your knife to cut around the joint and remove the leg and thigh completely. Repeat this process on the other side and set these pieces aside.
-
Remove the breasts by slicing down on either side of the breast bone, using long strokes. As your knife hits the bottom, use your thumb to gently pull the breasts outward, continuing to slice down and out until the breast meat is removed. If needed, you can slice horizontally at the bottom of the breast from the outside to help remove it. Repeat this process on the other side and set the breasts aside.
-
Remove the wings by gently pulling them away from the body and slice through the joint to remove it. You can remove the wing tips (there’s really no meat here), then set aside.
-
Separate the drumstick from the thigh by flipping this piece over so it’s skin side down. Slice through the meat and gently pull pack on the drumstick to expose the joint, then slice through it. You’ll have two pieces, the drumstick and the thigh.
-
Remove the bone from the thigh by using your knife to slice around the thigh bone, preserving as much meat as possible.
-
Carve the final pieces. Just slice against the grain for tender pieces of meat, and try to keep the skin attached to each piece.
-
Arrange all of the pieces on a platter and add any garnishes.
- The platter I’m using is perfect if your turkey is 13 pounds or less. For a bigger turkey, use a larger platter.
- Wondering if pink turkey meat is safe to eat? Read this information from the USDA.
Calories: 96kcal | Carbohydrates: 2g | Protein: 1g | Fat: 10g | Saturated Fat: 6g | Cholesterol: 26mg | Sodium: 168mg | Potassium: 33mg | Fiber: 1g | Sugar: 1g | Vitamin A: 332IU | Vitamin C: 6mg | Calcium: 11mg | Iron: 1mg
©Downshiftology. Content and photographs are copyright protected. Sharing of this recipe is both encouraged and appreciated. Copying and/or pasting full recipes to any social media is strictly prohibited.
Recipe tutorial originally posted November 2020, but updated to include new information for your benefit!